How to Build a Simple Chat Application with HTML, CSS, JavaScript, and PHP
- Date

-
 admin
admin
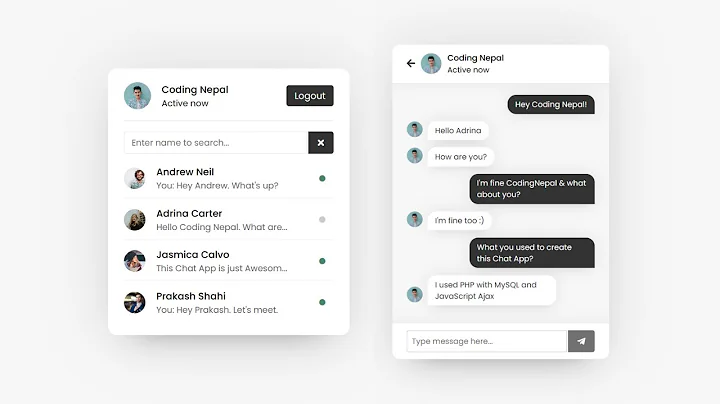
In this blog post, we’ll walk you through building a simple chat application using HTML, CSS, JavaScript, and PHP. These technologies work together to create a functional and interactive chat app where users can send and receive messages in real-time.
Step 1: Set Up Your Project
Start by creating a folder for your project and organizing your files as follows:
- index.php – This file will contain the chat interface and PHP logic.
- style.css – For styling the chat application’s design.
- script.js – To handle real-time chat functionality and dynamic updates.
- messages.php – To retrieve and display chat messages from the server.
Step 2: HTML Structure
Your index.php will form the basic layout of the chat app. It includes:
- An input box for users to type messages.
- A "Send" button to submit messages.
- A chat window to display both incoming and outgoing messages.
Step 3: Styling with CSS
Use CSS to design the look and feel of your chat app. You’ll style the chat window, messages, input fields, and buttons to make the app look clean and visually appealing. You can also add animations for smoother transitions when new messages appear.
Step 4: Add Interactivity with JavaScript
JavaScript makes the chat app interactive by enabling real-time functionality. With JavaScript (using AJAX), you can send and receive messages without refreshing the page. This makes the chat feel more dynamic and user-friendly.
Step 5: PHP for Server-Side Logic
PHP handles the server-side logic, including storing and retrieving messages from a database (such as MySQL). When users send messages, PHP processes these and saves them to the database. When the chat is loaded, PHP fetches the previous messages to display in the chat window.
Step 6: Make It Real-Time
For the app to update in real time, use JavaScript with AJAX to send messages to the server and periodically check for new messages. This ensures the chat interface updates instantly without needing to reload the page. For a more advanced setup, you could use WebSockets to establish a continuous connection for real-time communication.
Step 7: Upload to GitHub
Once your chat application is complete, you can share your project by uploading it to GitHub. Create a new repository, upload your files, and share the link with others. GitHub allows other developers to contribute or suggest improvements to your project.
Conclusion
In this guide, we’ve shown you how to build a simple chat application using HTML, CSS, JavaScript, and PHP. By following these steps, you can create an interactive, functional chat app. You can also host it on GitHub to showcase your work and collaborate with others.
For the complete code and further details, check out the project on my GitHub:
Download Source Code Below
https://github.com/Saif-anime/ChatApp---SamwithCode